Continuing our series of Tips – Tricks & Guidelines with Microsoft Access we share some additional items. The ongoing articles will continue to focus on tables within an Access database.
Viewing data within an Access database can come in many methods. Database forms are generally used to view and edit data. However, Access has several options within an Access table for those who are used to viewing data in Excel with a similar feel and look.
Many of these options are found under one menu when you have a particular Access table open. We’ll be highlighting a few of these in this month’s article. See below figure.
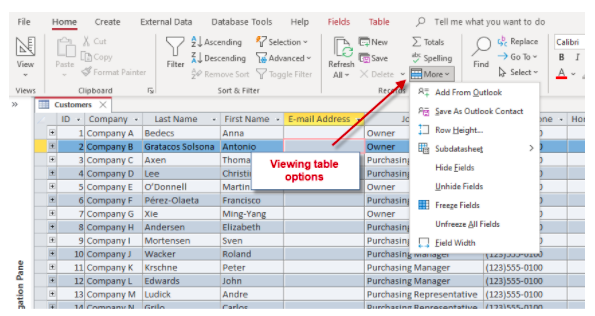
One option under the “More” dropdown list is the option to freeze columns. The user is allowed to freeze or lock in place one or more columns. This is useful when the table is open so that you don’t forget or lose track of what record you are looking at. In the above figure, you may want to always view the Company Name, First & Last Name for example. To do this, just click and drag starting on the column headings > click the “More” option as noted > select Freeze fields. Once completed, the user is then able to navigate from left to right and see all the company information while locking the contact information.
A second option that eases viewing is the ability to see the entire field name by widening the column headings. The user is allowed to highlight a column and then select the Field Width option. A dialog box then appears. See below figure.
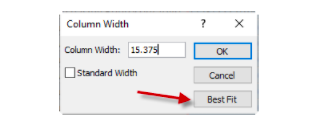
The best option at this point is to select “Best Fit”. This will adjust the column width to the widest item in the column you are selecting.
Tip – Instead of doing the above manually, the user is also allowed to > Click and drag to highlight all columns > then double click between one of the columns.
This will then adjust all the columns in the table to the “Best Fit” option.
Another option in viewing the table data is to also view the associated linked tables where a table relationship is setup between one or more tables. This relationship is performed by using the Relationship option under the Database Tools main menu. This must be done prior to viewing table relationships within the actual table. See below figure.
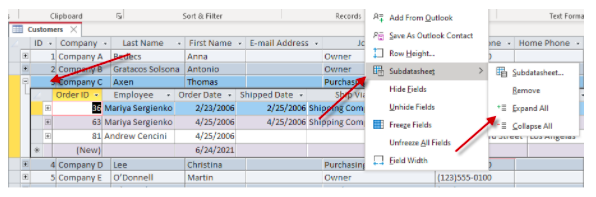
In the above example, the end user can see the actual order history for a particular customer. There may additional be additional tables as well. As long as the “+” sign appears in the datasheet mode, then the case of more related tables still stands to be true.
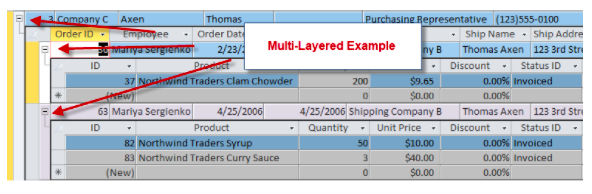
See below figure for multi-table example:
Once you have made any layout changes to a table and you then close the table, a dialog box will appear as noted in the below figure:
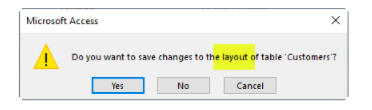
Please note that anytime a record is updated in a database and the table or form or lost focus of the record occurs, this saves that data in that record. The above message is asking to save the layout of your table. If you have made any column or appearance changes, these must be save when you close out of the table.
These are just a few time saving tips when using Access tables. If you are having trouble knowing how to get started with Microsoft Access, reach out to Arkware today for any database needs.